Quick Links:
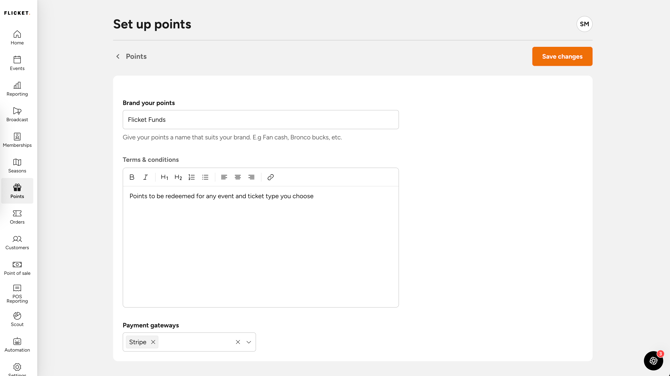
Setting up Points for your Organisation
You’ll be asked to configure:
- Points brand name. This is what customers will see (e.g. Flicket Funds).
- Terms and conditions. Displayed to customers when they purchase points. This should include:
- Whether points expire
- Refund policy (points are typically non-refundable)
- Any usage restrictions
- Payment gateways. Choose which payment methods customers can use to buy points packages.
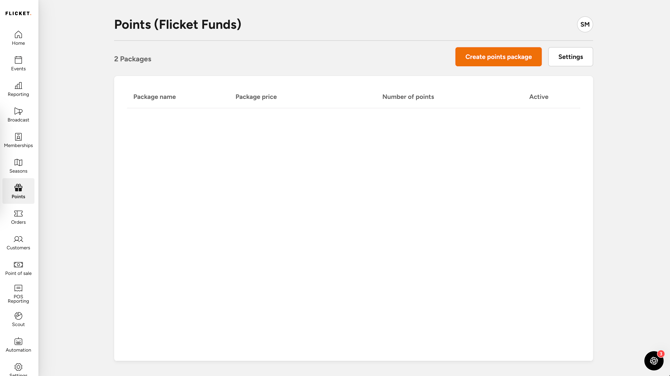
Creating a Points Package
1. Go to Points → Points Packages
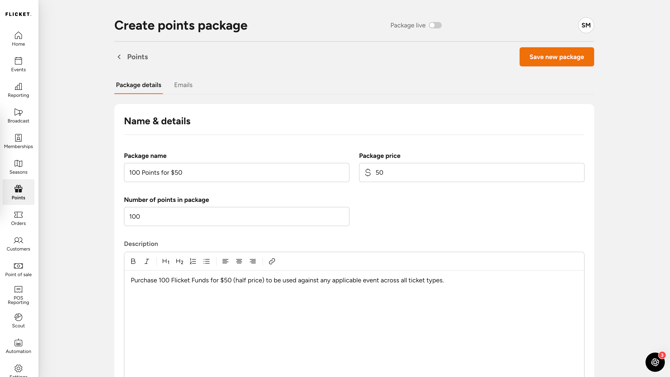
2. Click Create Points Package
- Package name (e.g. 100 Points for $50)
- Price (e.g. $50)
- Number of points allocated (e.g. 100)
Once live, customers can purchase the package immediately.
Optional Step
You can also add customised imaging to your points packages:
- Main Banner Image: Use a PNG with dimensions 1184 x 400px
- Thumbnail Image: Use a PNG with dimensions 358 x 240px
- Description Image: Use a PNG with dimensions 800x600
Allowing Points to be Used on Events
Points are not automatically enabled for all events. To allow points on an event:
- Open the event
- Go to Event Details tab and scroll down to Payment Settings
- Enable Points as a payment method
- Save the event
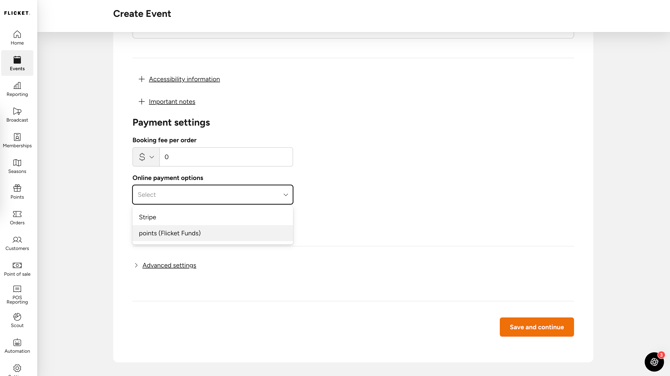
Only events with points enabled can accept points at checkout.